Scan Your Documents at the JPL
Scan Your Documents at the JPL
It’s never been easier to scan to:
Black & White Printer | | |
Color Printer | | |
USB Key | | |
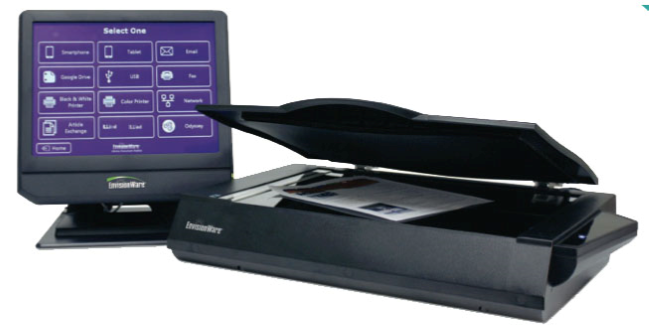
How to Use the Library Document Station (Located in the InfoCenter)
- Tap the screen to select the option of the output you would like (Mobile Device, USB Key, Color Printer, or Black & White Printer).
- Choose your color: Color, Grayscale, or Black & White.
- Choose the Quality: Standard or High Quality.
- Choose your format:
- Picture: TIFF, JPEG, PNG
- Document: PDF, Searchable PDF, Word Document
- Place the document to be scanned on the scanner in any direction, even crooked! NO LINING UP NECESSARY!
- Tap Press to Scan at the top of the screen.
- After the document scans, you can view and edit the document (crop, rotate, etc.).
- If you choose:
- Mobile Device: the system will generate a QR Code.Scan the QR code and your document will automatically load on your mobile device.
- USB Key: insert your key in the USB drive. The system will automatically save it to your USB Key.
- Print Job: the document will be sent to the print station, to the left of where you scanned the document (print fees apply).
- Finally, you will see a Confirmation Screen. Select either I’m Done or Scan More...The system will automatically log you out after 2 minutes.